Wednesday, August 13, 2014

The Land of Make Believe

Last week we visited the Land of Make Believe, an amusement park located in Warren County, NJ that is geared towards younger children.  The park is situated on a beautiful, flat (hooray for all stroller pushing moms and dads!) piece of land in Hope.  The parking lot is directly across from the front entrance so you don't need to walk far.

The park itself was very clean and family friendly.  My almost 2 year old was able to go on most of the rides, some by himself, some with me. My 7 year old nephew was able to go on all of the rides himself and he definitely had a great time. In addition to the carnival style rides, there is a small petting zoo, haunted house, Christmas barn with Santa (who even gives each child a present) and a water park! 


 We started our day riding all of the dry rides, took a lunch break (there are plenty of places to buy food if you don't pack a lunch) then spent the afternoon at the water park.  The water park is made up of a wading pool and water slides.  Each section is staffed by multiple lifeguards who appeared to take their job very seriously which was a relief to see.

 I definitely suggest bringing a stroller, although the park is not huge it is convenient to have for storing your food, change of clothes etc...  There is plenty of space for stroller parking throughout the park. We felt very safe there, it wasn't overly crowded and I didn't ever worry about anyone taking our stroller. My sister-in-law (a mother of 3) felt comfortable enough to make the day trip with just her and the kids because the park is that family friendly and easy to navigate!  We went on a weekday and the longest we had to wait in line for a ride was about 3 minutes.

We loved visiting the Land of Make Believe and look forward to returning there in the future.  I can't say enough good things about it.  It is the type of amusement park that is small enough to not stress about the crowds or waiting in line, yet it is big enough that you can spend an entire day there.


Thursday, June 19, 2014

Product Review- Freshly Picked

We were so excited to do a Freshly Picked product review for their moccasins!  I immediately knew I wanted the camo ones for Blake, they are so super cute! 

 
I was unsure of how soft soled shoes would stand up against an adventurous toddler, but we found out they are in fact quite durable!  We used them at the beach, playground and just general playing in our yard and they have held up extremely well with minimal signs of wear.  We've had them for a few weeks now and none of the seams are separating or ripped.  They have a bit of staining on the bottom but that is to be expected, the same happens with any shoe.

 
An added bonus of these moccs is that they are easy to slip on and off.  Blake loves trying to put his own shoes on and he can just about put these on by himself now :)

 
I think one of my favorite things about Freshly Picked is the story of how Susan, a mother of 2,  started her business.    I won't spoil it, head to their blog to read more!  Plus, Susan is an amazing supporter of other small business and momprenours who frequently speaks at events and encourages others to chase their small business dreams :)


Now, what you all want to know... are they worth the $60 price tag?  I think so!  I am very frugal and the logical side of me says that is a lot to spend on kids shoes but Freshly Picked Moccs are 'the' kids moccasins and the fact that they are so high quality and come in so many colors is reason enough to make the purchase! 
 
Did you know Freshly Picked now sells carryall bags?!  They would make a great diaper bag and come in matching colors to the moccs.  To order your moccs visit their website here


Please note:  I received this product for free to review but the opinions are 100% my own.


Thursday, March 13, 2014

The Truth Can Drive You Nuts (used with permission from the Unsweet Tea Blog)

Allergy alert bracelet can be found here. Use code "ALLERGY10" to save 10%


My sister wrote a short speech about food allergy facts and how it has affected our lives.  With her permission I am sharing it with our readers.  You can read the original article here, on her blog Unsweet Tea.

The truth can drive you nuts
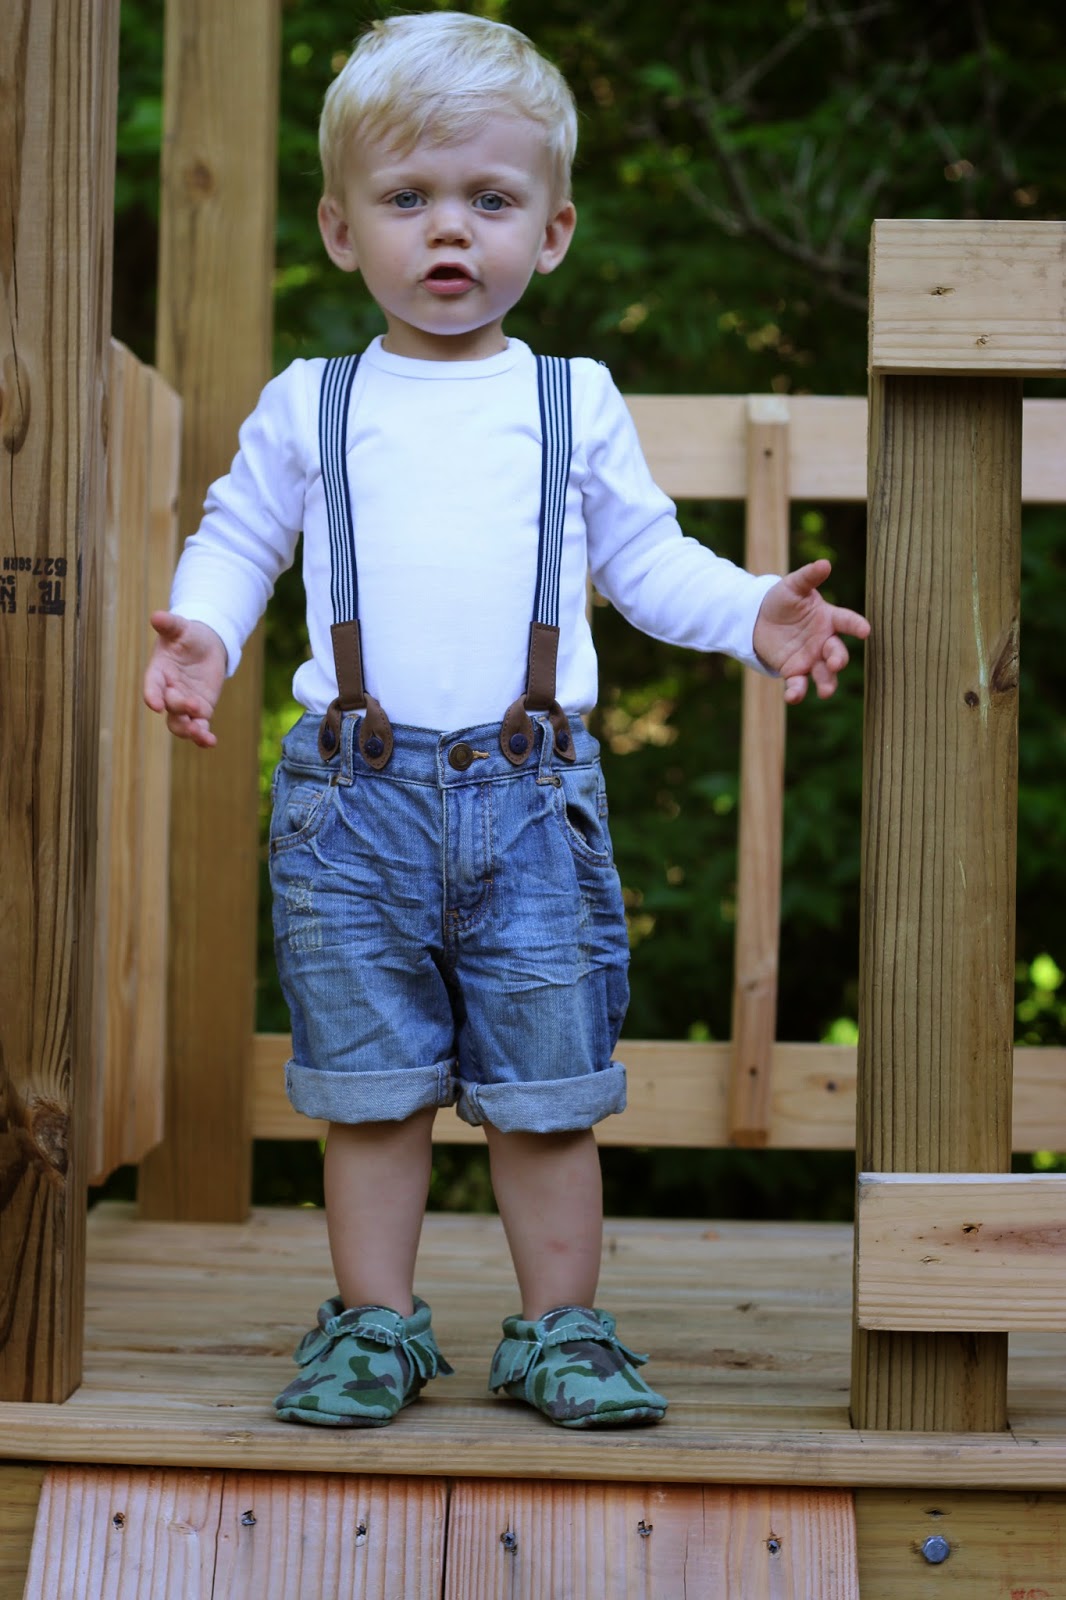
On September 22, 2012, my mini-me was born. My nephew, Blake is called my mini-me because we have the same big, blue eyes, the same blonde hair and the same chubby cheeks.

On his one-year birthday, we found out that my mini-me wasn't as similar to me as we thought. Blake was diagnosed with food allergies. He went in for allergy testing after he ate peanut butter and his face became swollen. His test results showed that he was allergic to peanuts, tree nuts, shellfish and sunflowers.

My sister is a great mom, so her first duty of business was to arm herself with knowledge. She read a ton of books, started following bloggers and reached out to moms of children with food allergies. Since no one in our entire family has had a food allergy, it was a big change for my sister and her husband.


So, being that this is my mini-me with food allergies, my sister educated me, as well. Today, I’d like to share three things that I learned about food allergies, that you may not know.

First, there’s no definitive study on what causes food allergies. In college I took a food science course and we learned that the best way to lower your risk of food allergies is to avoid peanuts while you’re pregnant, and not give your child peanuts until they are six years old. Well, recent studies came out that say to do the opposite. And, there’s even more studies that say that food allergies can be treated through exposure therapy. But, I personally think that if we give it a few more years, a new study will probably come out to say something entirely different.

Unfortunately, the second thing I've learned is that there's no accurate test to tell whether a person has an anaphylactic allergy. Anaphylactic allergies can be life-threatening, and typically the first allergic reaction a person has is not his or her most severe, so it's not an accurate way to gauge the severity. So, people with food allergies must take every precaution in order to control their environment and limit their exposure to their allergen until they know for sure what their reaction will be. In fact, children can possibly grow out their food allergies--there's just no way to test it and know for sure.

Finally, one thing is certain: the prevalence of food allergies has increased significantly in my lifetime. According to the CDC, food allergy diagnoses in the U.S. have increased 50 percent since 1997. For me, and probably most of you, there was no “food allergy” table in the cafeteria and we never had to worry on birthdays about our food being “safe.” Now, many schools are nut-free, and almost all schools have a “food allergy” table. This is encouraging for the people with food allergies, since they have a strong community and they aren't alone. My sister has a plethora of resources and databases to learn about safe foods for Blake, and a good support group to reach out to in need.

However, the increase in food allergies is alarming. There’s a number of reasons for the increase in food allergies, but of course the main suspect is the American diet. One fact that cannot be disproven is that the rate of genetically-modified food has also increased parallel to food allergies. Some studies suggest that the strongest link to nut allergies actually comes from genetically modified soybeans, since their chemical structure is so similar to peanuts, and this may be what’s caused the increase. If you haven't read Michael Pollan's "The Omnivore's Dilemma," about genetically-modified corn, I highly recommend reading it.
 
So, to recap, here are a few things I’ve learned about food allergies over the last seven months: First, there’s no definitive study about what causes food allergies, and there's no test to accurately predict the severity of the allergy. Third, food allergies have increased 50 percent in the last ten years. 

Finally, the best defense is knowledge. I live far away from him, so I don’t have to worry about what I eat around him on a daily basis, but as soon as I get home, I know that I can only eat Blake-safe foods in my parents’ home and in my sister’s. But, of course, even if I can’t eat a Reese’s peanut butter cup, just one look at that sweet little smile and one sound of  him giggling, and I know he’s worth it, and I would give up anything in order for him to be safe.
------------------------------------------------------------------------------------------------------------
 
I would just like to add some information about the UKNOW peanut test.  It is a relatively new test that can tell with 95% certainty a persons risk for anaphylaxis.  Once our insurance covers this test we plan to get this test done for Blake.  You can find more information about the UKNOW peanut test here

Monday, March 3, 2014

Easy Homemade Calzone

 
Making your own calzone or Stromboli is just as easy as making your own pizza (and much healthier, oh and less expensive too!)  Use this pizza dough recipe from one of our previous posts (remember, it freezes great so you can make a lot at once). Roll out the dough into a sort of rectangle or oval shape.  Add the fillings (only fill up one half of it) of your choice then fold over the other half on top of it.  Cut a few slits in the dough to let the steam escape.  Bake the calzone at 500 degrees for 8-10 minutes and enjoy!


Friday, February 21, 2014

Multivendor Giveaway!!

We are sooo excited to be hosting this giveaway with a few other great Etsy and Facebook shops on our blog!! The giveaway runs until February 28th, and you can enter via the rafflecopter below.  We will announce the winner on March 1st! 

 The prizes include an elastic headband set, earrings, and a scarf from Chicken Scratch'd Designs, crocheted ear warmer or newborn beanie from The Knotty Sistersrs, free mini Easter photo shoot(to anyone local to NJ) from Hilary Murphy Photography, gift certificate to B.Stamped, an 8x10 print of your choice from Eva Marie Typography, a headband and two bows from Petit Lily and a handmade bag from Amanda Lynne Designs!
Please show all of the vendors some support and visit their links below!

The Knotty Sisters
custom crocheted creations

 
Facebook      


B. Stamped
custom stamped metal jewelry


                           Facebook      
 
 Etsy  


Chicken Scratch'd Designs
Handmade Designs for Baby Chicks & Mother Hens! Little Fancies to keep your feathers in a fluff!


Hilary Murphy Photography
*giveaway prize is for a free Easter mini session (April 5th or 6th) valued at $125, located in Hunterdon County, NJ


Eva Marie Typography


Petit Lily
Hand crafted hair accessories for infants, little ladies, and women. Specializing in custom, special event, and bridal pieces.


Amanda Lynne Designs


Good Luck!


a Rafflecopter giveaway

Tuesday, February 18, 2014

Places to Go In the Winter With a Toddler

People are always asking me how I am finding things to do with my son all winter long, so I thought I would share a few ideas.  I think most people underestimate the amount of fun and enjoyment a baby or young toddler can have at most places, but it has been our experience that our son LOVES going almost anywhere we would normally go.  My tips for making sure your outing is as fun for everyone as possible is to pack a lot of snacks/food/drinks, stroller, infant carrier an extra outfit for the baby and maybe some smaller toys. 

So here are the places we have gone and what is still on our 'to go' list:

The Aquarium
This is a must with an infant or young toddler! We took our son for the first time around 5 months old and he seemed to really enjoy watching all of the colorful fish swimming around.  He may not have understood what he was looking at but he still had a blast, and slept the entire 2 hours in the car on the way home.  We have taken him to two other aquariums and he has loved them just as much.  The most recent time at 13 months he loved so much he did not want to leave!


Library Story time
Yes, babies can go to the Library.  Most people wouldn't think about taking a baby or toddler to the library but it is the perfect place for them to socialize and learn some new things.  I started taking my son this past Fall right after he turned 1 and he always enjoys it.  A toddler's attention span is short but I have noticed that the more people that come to story time the easier it is for him to sit still.  Our Library does craft time after the story and my son usually participates and learns so much by mimicking the older kids.  Best part? It's free!

Museums/Children's Play Places
Look around your area for any children's museums and play places.  We are lucky to have a few great places not too far from us.  The Bucks County Children's Museum and the Giggleberry Fair are two of our favorites.  We usually bring along a few friends and pack a lunch when we go. Check your local gym or community center to see if they have any toddler play times, we have a toddler time at our local gym.


Indoor Festivals/Seasonal Events
I am always looking for festivals and other seasonal activities to do and found a really fun one this year, Crystal Cabin Fever.  Below are a few pictures of us at the 'festival'.  My son LOVED it, he was pointing at all of the ice sculptures and even got to go down the ice slide on Daddy's lap :)


We had started planning a trip to Great Wolf Lodge (indoor water park, lots of toddler activities) but they sold out before we booked, but we are definitely looking forward to going there next year!
 
I have a long list of fun things for us to do once the snow finally melts which I will share with you in another post. 

Monday, February 10, 2014

Hand Stamped Jewelry

So, each month we will feature some of our new  products that we sell or that we love using- this month will be the hand stamped custom jewelry.  You can visit the etsy shop here and the Facebook here.  Brittany began making these in the Fall of 2013.  Currently only bracelets and necklaces are available and custom orders are always welcome.  I can stamp just about anything on the jewelry such as anniversary dates, children's names/initials, birthdates, and quotes. 


Saturday, February 8, 2014

Exclusive Pumping Tips


After 15 months of exclusively pumping for my son I have learned so many tips and tricks that I'm excited to share with others going on the same path. First I'll share with you my story and then the things I have learned along the way.

My son was born in the fall of 2012, his birth was a great experience (although at the time I swore he would be our one and only child!).  Despite my original intentions to not get an epidural I caved and got one around 6 cm, other than that I was happy with the way his birth went. The nurses were all amazed that I was having such a good time, even laughing while giving birth.

Immediately after birth we did skin to skin and Blake showed no signs of wanting to nurse, unfortunately that continued for the entire 3 days we were in the hospital.  I immediately began pumping with the hospital pump.  We feed him a few different ways (all to avoid using a bottle), we used a cup and finger fed him.  In the meantime we did more skin to skin, but he still did not have an interest in nursing.  I was FREAKING OUT, after all I am a nurse and was well trained in breastfeeding issues, I was just so upset that my son wasn't nursing.  I felt like a complete failure.

Once we were home we had a lactation consultant come to our home, I remember breaking down crying as soon as she walked in the door. During the visit Blake wouldn't even attempt to nurse, it was disappointing, but she did leave us with some hope-she diagnosed Blake with an posterior tongue tie and we made an appointment with a pediatric oral surgeon to have it looked at. Sure enough, the oral surgeon agreed our son had an posterior tongue tie and we went through with the procedure to have it 'clipped'.  I sat in the chair and held Blake tightly in my arms, the doctor took his scissor looking tool and clipped the tongue tie.  There was some blood and of course Blake was crying and screaming (I was crying too). It was an awful procedure to see happen but within a few minutes the bleeding was done and the crying and screaming were over with.  Blake then nursed for about 2 minutes, it was awesome, I thought to myself wow, this worked and everything will be just fine!  We returned home and despite my best efforts and much skin to skin he never nursed again. 

I came to realize at that point my only option was to continue to pump for Blake and continue to do skin to skin and see if he would eventually nurse.  To make a long story short-he never did. The first 2 months were really rough emotionally, I just couldn't come to terms with being an exclusive pumper, but eventually something in me realized I needed to get over it and just accept it.  Luckily I had a great support system in my husband, friends, and family. 

So after 15 months of exclusive pumping and almost 5,000 ounces of breastmilk donated I have a few tips to share :)
 
THE EMOTIONAL ASPECT:
-whatever your reason for ep'ing, remember that you are providing your baby with the very best nutrition, and that is worth a lot!

-looking back I think my extreme stress levels trigged by our initial breastfeeding struggles were the main reason I couldn't breastfeed.  Babies are so in tune to their mothers and I'm sure my stress had a negative effect on his ability to nurse

-don't be afraid to ask friends or family for help!  I was amazed at the support I received from others, whether it be an encouraging phone call or help around the house so I could relax with Blake

-don't set yourself up for failure- by this I mean don't expect breastfeeding to happen naturally and easily.  Be prepared in case it doesn't.

-do plenty of skin to skin with your baby to bond, it's great for you and the little one

-I felt a certain stigma about bottle feeding my child and always felt like I had to let people know that it was breastmilk in his bottle, obviously not everyone will feel this way but for those who do I can say that not a single person ever gave me a look or made any remarks about me bottle feeding

THE BEGINNING:
-babies nurse 8 to 12 times a day, so you should pump that many times.  Don't take any shortcuts pumping in the first 12 weeks.  This is when your body is adjusting and learning how much milk to make for your baby.

-pump for at least 15 minutes, if milk is still flowing after 15 minutes continue to pump until it stops

-rent a hospital grade pump for the first 3 months if you can, most lactation consultants recommend this to help you establish a good supply

-visit with a lacatation consultant to work on breastfeeding before deciding to become an exclusive pumper

-Most insurances (especially now with Obamacare) will cover the rental and/or purchase of breastpumps as well as visits with a lactation consultant.  This is something you should look into while you are still pregnant.  Even if you have a successful nursing relationship if you go back to work and need to pump you will save yourself the money and trouble later on.

OTHER TIPS:
-make sure you have a good double electric pump (I used the ameda purely yours after the hospital rental and LOVED it! I also had a Medela pump in style but chose to stop using it after finding mold on the motor-Medela consumer grade pumps are an open system and this mold issue happens frequently)

-set pumping goals for yourself, maybe start with 3 months, then 6 etc...  I knew from the beginning formula was not an option and that I would pump for at least 1 year and anything over was icing on the cake

- after pumping, store your pump parts in the refrigerator and wash each night before bed. you do not need to wash the parts after each pump!

-if you are working or go out a lot invest in an extra pump to keep at work or to have as your 'going out' pump.  I had 3 pumps, one at work, one at home and one at my parents-it was so nice to not have to pack up and lug my pump around everywhere.

-as your baby gets older pump when he naps, or put him next to you in a bouncer, swing etc to keep him occupied while pumping

-I've seen this tip a million places, but it is so perfect for an ep'ing mom- never quit on a bad day! 

-make your own hands free pumping bra (cut holes in a sports bra, just remember not to cut the holes too big or the flanges will not stay on while pumping)

-purchase or make yourself a nursing cover.  There were a few times, like camping that I needed to more or less' pump in public' and having a cover with straps around my neck was a lifesaver.  I also felt more comfortable with a cover over me while pumping at work in case someone accidentally walked in.

I was blessed with a great supply but if you are struggling to produce what your baby needs try these tips:

-drink plenty of water
-make sure you are getting some rest (it's so hard to do but force yourself to nap when the baby naps!)
-make sure you are eating enough
-keep your pumping schedule consistent and remember to not drop any pumps in the first 12 weeks, even if you think your supply is established


RESOURCES:
- http://kellymom.com/
- join the Facebook group "Exclusive expressing/pumping" to chat with other moms ep'ing and to get more tips
- call your local hospital for appointments with their lactation consultants, also check online to find lactation consultants that will come to your home for consultations

Those are all the tips I can remember for now, if I think of more I will update this post.  Leave your tips in the comments below :)


Wednesday, February 5, 2014

Easter Gender Reveal


I knew from the beginning of our pregnancy that I had to know if it was a boy or girl.  Secretly (or not so secretly in my case) I really wanted a boy, and I also wanted to have his or her room completely done and clothes washed, folded, and arranged before his or her arrival.  My husband and I decided to do an elective ultrasound at about 15 weeks to see if we could find out the gender just before Easter. 

So, we looked around online for reputable elective ultrasound places and settled on one that looked nice and was affordable.  We went in and it was pretty apparent from the moment the ultrasound wand was on my belly that it was a boy!  We were so excited and couldn't wait to share the news.  We decided to tell our parents in a clever way on Easter.  Not wanting to do the usual cake cutting or other cliché methods I came up with the idea to put blue or pink jellybeans in plastic Easter eggs and have them all open them up at the same time.  You can tell by the picture below how surprised my parents were, I'm soo glad I caught their reaction on camera :) This was definitely a fun and unique way to do the gender reveal.


As for our next child (which is not in the near future!) I think I may want to be surprised at birth.  But, the planner/organizer in me probably will not be able to hold out that long.

Feel free to share in the comments below your unique ideas for a gender reveal, and with Easter coming up if any of you do the Easter egg gender reveal please come back and share with us how it went!

Tuesday, February 4, 2014

Bread Machine Pizza Dough

I've been making my own pizza dough for a few years now, it is so easy to do and is definitely cost effective. My favorite (and the easiest way in my opinion) is to make it with a bread machine.  You just dump all of the ingredients into the machine, hit the dough cycle and it's made for you :)  I usually pick one day and make pizza dough after pizza dough and then freeze them, so all I have to do to make dinner on a busy day is take a frozen dough out of the freezer in the morning.


The way you make dough with a bread machine is simple, put all of the ingredients in the machine (wet ingredients always go in first) and hit the dough cycle.  The dough cycle on my machine is about 1 hour and 30 minutes.


Ingredients:
2 tsp. dried granulated yeast
3 cups bread flour
1 tsp. salt
2 tbs. sugar
2 tbs. olive oil
1 cup water
2 tbs. water

If I'm freezing the dough I will let it sit for about 10 minutes, then put it into a freezer bag and into the freezer it goes.

If I'm cooking the dough I will immediately put it on my pizza stone and roll it out.  I then set the oven to 425 degrees, add some garlic onto the rolled out dough and bake for about 8 minutes.  I then take it out of the oven, add the toppings and bake for an additional 6-8 minutes. 


Monday, February 3, 2014

Whole Wheat Blueberry Muffins


These are the best blueberry muffins you will ever eat, I promise! They are easy to make, the recipe makes 12 muffins but you can double or triple it and can even freeze the muffins.  I usually do that and even after being frozen these muffins are still amazing.

Recipe:
1/2 cup melted butter
2 eggs
1/2 tsp. vanilla

Mix those ingredients together then add:
1/2 cup sugar
1 cup regular flour
1 cup whole wheat flour
1/2 tsp. salt
1 tsp. baking powder

Mix together and add 1 cup of blueberries.  Bake at 350 degrees for 20-25 minutes. 

A tip- after adding the whole wheat flour the dough becomes very sticky, this is normal! Whole wheat flour will make any dough seem thicker and stickier.


Sunday, February 2, 2014

Homemade Bagels


I am totally guilty of being lazy when it comes to cooking, but these homemade bagels are seriously easy to make!  The recipe can be found here.  I have made them many times and always end up with at least 12 regular sized bagels (recipe says it'll make 6) so not sure what I am doing that makes me end up with more, but they still taste delicious :)  We usually eat them plain, but you can add whatever toppings you like such as: poppy seeds, sesame seeds, onion flakes, salt, and garlic. 

Another note:  I really do think the parchment paper is essential- Last time I made these bagels I didn't have any and used cooking spray and the bagels were completely stuck to the baking sheet.


Saturday, February 1, 2014

1st Birthday Photo Ideas and Tips

I will preface this post by saying we are not by any means professional photographers.  We are Mom's with nice, entry level DSLR cameras and have learned how to use them to their full potential (we shoot in manual, images are in RAW, and we edit in Photoshop, plus we have had lots of practice over the past few years).  Besides our own children we've taken a few photos of other children for their first birthdays, so we thought we would share our ideas and tips with you!

First up- the cake smash.  We love it!  Sure, it is a big trend right now and might be nonexistent in a few years but it is fun and makes for some cute photos :) 

Chalkboard printable for sale here


Our tips- take a ton of pictures! Make sure you get a good shot of the cake before hand, the first bite, the messy face, messy feet and the aftermath of it all.  We all know one year olds do not sit still, except when a cake is in front of them, so take advantage and snap away.
 
We really love the simplicity of non posed photos without any props.  As mentioned before, one year olds are all over the place.  You will literally lose your mind trying to get them to sit still for pictures.  I took these pictures chasing my son through our yard and love how they turned out. 
 
Notice the mini pumpkin in his hand?  That was how I got him to sit still for a few minutes, plus he is an Autumn baby so it goes well :)


Other Tips:
 
Buy yourself a reflector! They can be bought for less then $10 on amazon.com or made at home with white foam board, a white sheet etc...
 
On camera flash is not your friend.  Don't use it, ever.  Sometimes, like at night or indoors in a poorly lit space flash ends up looking better then jacking your ISO way up (makes photos very grainy), try it both ways and see what looks better when editing. In the end  though neither really look good and you should avoid taking photos in those situations and schedule a different time.

Space the 1st birthday photo shoot over a period of a few days.  That way you can have some outfit and scenery changes without stressing yourself out and you will increase the chance of getting some great pictures.